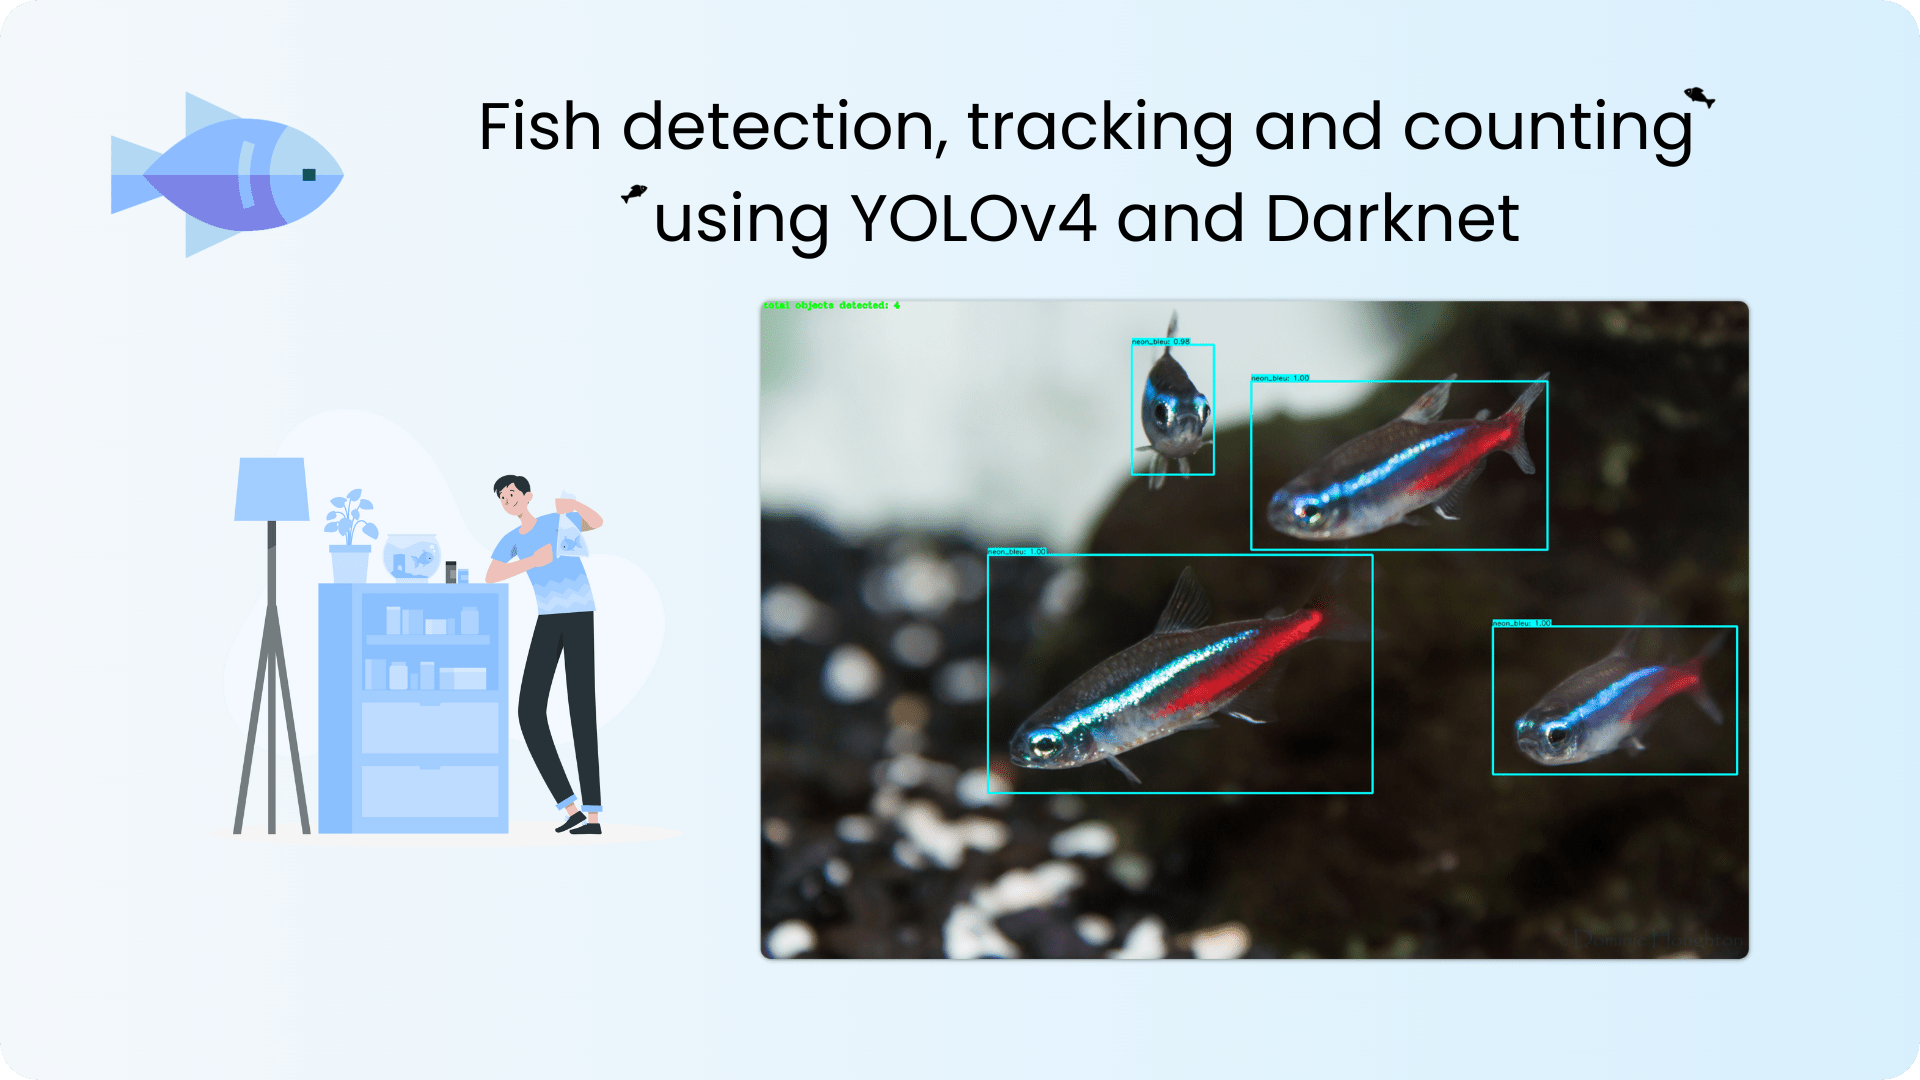
This repository implements YOLOv4 using TensorFlow for tracking and counting of two different fish species within an aquarium.
YOLO (You only look once) uses CNN to detect objects in real time. A single convolutional network simultaneously predicts multiple bounding boxes and class probabilities for those boxes. YOLO trains on full images and directly optimizes detection performance.
Three fish species that are common in aquariums belong to the genus Paracheirodon, which is a member of the family Characidae. It is native to the tropical regions of South America.
The Paracheirodon species range in size from 3 to 5 cm, are social, uninterested in other inhabitants, and living in groups of around ten individuals.
The following three members of the genus Paracheirodon are readily found in markets:
- Paracheirodon innesi
- Paracheirodon axelrodi
- Paracheirodon simulans

In collaboration with Maison Haegel, this project focuses on building a computer vision system to count and track two distinct fish species within an aquarium.
- Paracheirodon innesi, alias
neon_bleu - Paracheirodon axelrodi, alias
cardinalis
Release v1.0
Initial release date - 01/12/2022
The training part of this project has been done separately using the Darknet framework.
TODO: jupyter notebook for model training
Instructions given in this repository are meant to be used in a machine equiped with a macOS operating system (in our case we used macOS Venture 13.0.1) and with a M1 chip. Readers should be aware that Deep Learning is very computationally intensive and therefore should have access to a computer with the minimum requirements for their project. You can consult this guide in order to understand the requirements for using deep learning.
Scripts used in this repository are of advanced python code, if completely unfamiliarised with python a useful familiarization with python basic knowledge, can be of great use (more specifically: syntax, for loops and functions).
I recommend building the tracker in an conda environment.
You can find here a quick introduction to conda and how to set up Miniforge which is a minimal installer for conda specific to conda-forge.
# Tensorflow CPU
conda env create -f conda-cpu.yml
conda activate yolov4-cpu

# Tensorflow GPU
conda env create -f conda-gpu.yml
conda activate yolov4-gpuThis project's YOLOv4 weights have been already trained and can be downloaded here.
After downloading the yolov4_93map.weights file, copy and paste it from your downloads folder into the 'data' folder of this repository.
# Converting darknet weights to tensorflow
python save_model.py --weights ./data/yolov4_93map.weights --output ./checkpoints/yolov4-416 --input_size 416 --model yolov4

# Detection on images
python detect.py --weights ./checkpoints/yolov4-416 --size 416 --model yolov4 --images ./data/images/<YOUR_IMAGE>

# Tracking on videos
python detect_video.py --weights ./checkpoints/yolov4-416 --size 416 --model yolov4 --video ./data/video/<YOUR_VIDEO> --output ./detections/results.avi

# Tracking on webcam
python detect_video.py --weights ./checkpoints/yolov4-416 --size 416 --model yolov4 --video 0 --output ./detections/webcam.avi
TODO: Running the detector on multiple images at once by changing the
--imagesflag like such--images "./data/images/<IMAGE_1>, ./data/images/<IMAGE_2>"
You can find the outputted image(s) showing the detections saved within the 'detections' folder.

Video saves wherever you point --output flag to. If you don't set the flag then your video will not be saved with detections on it.
![]()
The following commands will allow you to run your custom yolov4 model.
# Converting darknet weights to tensorflow
python save_model.py --weights ./data/<CUSTOM_WEIGHTS_FILE> --output ./checkpoints/custom-416 --input_size 416 --model yolov4

# Detection on images
python detect.py --weights ./checkpoints/custom-416 --size 416 --model yolov4 --images ./data/images/<YOUR_IMAGE>

# Tracking on videos
python detect_video.py --weights ./checkpoints/custom-416 --size 416 --model yolov4 --video ./data/video/<YOUR_VIDEO> --output ./detections/results.avi

# Tracking on webcam
python detect_video.py --weights ./checkpoints/custom-416 --size 416 --model yolov4 --video 0 --output ./detections/webcam.aviYOLOv4-tiny is the compressed version of YOLOv4 designed to train on machines that have less computing power. Its model weights are around 20 megabytes large.
This project's YOLOv4-tiny weights have been already trained and can be downloaded here.
After downloading the yolov4-tiny_93map.weights file, copy and paste it from your downloads folder into the 'data' folder of this repository.
The following commands will allow you to run YOLOv4-tiny for this project.
# Converting darknet weights to tensorflow using tiny FLAG
python save_model.py --weights ./data/yolov4-tiny_93map.weights --output ./checkpoints/yolov4-tiny-416 --input_size 416 --model yolov4 --tiny

# Detection on images using YOLOv4 tiny
python detect.py --weights ./checkpoints/yolov4-tiny-416 --size 416 --model yolov4 --images ./data/images/<YOUR_IMAGE> --tiny

# Tracking on videos using YOLOv4 tiny
python detect_video.py --weights ./checkpoints/yolov4-tiny-416 --size 416 --model yolov4 --video ./data/video/<YOUR_VIDEO> --output ./detections/results.avi --tiny

# Tracking on webcam using YOLOv4 tiny
python detect_video.py --weights ./checkpoints/yolov4-tiny-416 --size 416 --model yolov4 --video 0 --output ./detections/webcam.avi --tinyHere is how to use all the currently supported custom functions and flags.
Custom count functions are within the file core/functions.py. It can be used to count total objects found or can count number of objects detected per class.
To count total objects, add the custom flag --count to your detect.py or detect_video.py command.
# Running the model while counting total objects detected
python detect.py --weights ./checkpoints/yolov4-416 --size 416 --model yolov4 --images ./data/images/<YOUR_IMAGE> --count

To count the number of objects for each individual class of your object detector you need to add the custom flag --count as well as change one line in the detect.py or detect_video.py script. By default the count_objects function has a parameter called by_class that is set to False. If you change this parameter to True it will count per class instead.
To count per class, make detect.py or detect_video.py look like this:

Then run the same command as above:
# Running the model while counting objects per class
python detect.py --weights ./checkpoints/yolov4-416 --size 416 --model yolov4 --images ./data/images/<YOUR_IMAGE> --count

Note: You can add the --count flag to detect_video.py commands as well!
Custom flag called info can be added to any detect.py or detect_video.py commands in order to print detailed information about each detection made by the object detector.
To print the detailed information to your command prompt, just add the flag --info to any of your commands. The information on each detection includes the class, confidence in the detection and the bounding box coordinates of the detection in xmin, ymin, xmax, ymax format.
If you want to edit what information gets printed you can edit the draw_bbox function found within the core/utils.py file. The line that prints the information looks as follows:

Example of info flag added to command:
# Running the model while printing informations into your command prompt
python detect.py --weights ./checkpoints/yolov4-416 --size 416 --model yolov4 --images ./data/images/<YOUR_IMAGE> --info
Resulting output within your shell or terminal:

Note: You can add the --info flag to detect_video.py commands as well!
Custom crop function within the file core/functions.py can be applied to any detect.py or detect_video.py commands in order to crop the YOLOv4 detections and save them each as their own new image.
To crop detections all you need to do is add the --crop flag to any command. The resulting cropped images will be saved within the detections/crop/ folder.
Example of crop flag added to command:
# Running the model while cropping detections
python detect.py --weights ./checkpoints/yolov4-416 --size 416 --model yolov4 --images ./data/images/<YOUR_IMAGE> --crop
Here is an example of one of the resulting cropped detections from the above command:

save_model.py:
  --weights: path to weights file
    (default: './data/yolov4_93map.weights')
  --output: path to output
    (default: './checkpoints/yolov4-416')
  --[no]tiny: yolov4 or yolov4-tiny
    (default: 'False')
  --input_size: define input size of export model
    (default: 416)
  --framework: what framework to use (tf, tflite)
    (default: tf)
  --model: yolov3 or yolov4
    (default: yolov4)

detect.py:
  --images: path to input images as a string with images separated by ","
    (default: './data/images/cardinalis.jpeg')
  --output: path to output folder
    (default: './detections/')
  --[no]tiny: yolov4 or yolov4-tiny
    (default: 'False')
  --weights: path to weights file
    (default: './checkpoints/yolov4-416')
  --framework: what framework to use (tf, tflite)
    (default: tf)
  --model: yolov3 or yolov4
    (default: yolov4)
  --size: resize images to
    (default: 416)
  --iou: iou threshold
    (default: 0.45)
  --score: confidence threshold
    (default: 0.25)
  --count: count objects within images
    (default: False)
  --dont_show: dont show image output
    (default: False)
  --info: print info on detections
    (default: False)
  --crop: crop detections and save as new images
    (default: False)

detect_video.py:
  --video: path to input video (use 0 for webcam)
    (default: './data/video/cardinalis.mp4')
  --output: path to output video (remember to set right codec for given format. e.g. XVID for .avi)
    (default: None)
  --output_format: codec used in VideoWriter when saving video to file
    (default: 'XVID')
  --[no]tiny: yolov4 or yolov4-tiny
    (default: 'false')
  --weights: path to weights file
    (default: './checkpoints/yolov4-416')
  --framework: what framework to use (tf, tflite)
    (default: tf)
  --model: yolov3 or yolov4
    (default: yolov4)
  --size: resize images to
    (default: 416)
  --iou: iou threshold
    (default: 0.45)
  --score: confidence threshold
    (default: 0.25)
  --count: count objects within video
    (default: False)
  --dont_show: dont show video output
    (default: False)
  --info: print info on detections
    (default: False)
  --crop: crop detections and save as new images
(default: False)Reach out to @yassine_rd_ on Twitter or feel free to contact [email protected]
This project is licensed under the MIT License.
See the LICENSE file for more details.
@misc{bochkovskiy2020yolov4,
      title={YOLOv4: Optimal Speed and Accuracy of Object Detection},
      author={Alexey Bochkovskiy and Chien-Yao Wang and Hong-Yuan Mark Liao},
      year={2020},
      eprint={2004.10934},
      archivePrefix={arXiv},
      primaryClass={cs.CV}
}

@misc{darknet13,
  author={Joseph Redmon},
  title={Darknet: Open Source Neural Networks in C},
  howpublished={\url{http://pjreddie.com/darknet/}},
  year={2013--2016}
}