AI-generated imagery is becoming increasingly prevalent, and photographers and digital artists are constantly seeking ways to add more depth and context to their creations. This tutorial will walk you through a comprehensive process to enrich your AI-generated photos with contextual metadata using PhotoTag.ai's API, Python, and a user-friendly desktop application built with PyQt5.
- Visit the API page on PhotoTag.ai.
- If you haven't already, sign up or log in to access the API section.
- Navigate to the API tokens area and create a new token. Note this token down securely; you'll need it for your script.
- Organize your AI-generated photos within a specific folder on your computer. Ideally, choose a location that's easily accessible, like
D:\AI_Photosor~/AI_Photoson Mac.
- Ensure Python is installed on your system. If not, download it from the official Python website.
- Install the required Python packages (
requests,piexif,PyQt5) by running the following command in your terminal or command prompt:pip install requests piexif PyQt5
Check out the Python script generate-metadata.py and save it to a known location on your computer. For convenience, you might save it in the same folder as your photos or in a dedicated scripts directory. This will make it easier to run the script and process your AI-generated photos for metadata enhancement.
Ensure you replace api_token = "" with your actual API token from PhotoTag.ai. This script is designed to enhance AI-generated photos by embedding fetched metadata directly into your image files. It's a powerful way to add context and make your digital art more searchable and organized.
- Open the Python script with a text editor or IDE.
- Locate the line
api_token = ""and insert your API token between the quotes.
- Open a terminal or command prompt.
- Navigate to the directory where you saved the Python script.
- Run the script by typing:
python name_of_your_script.py
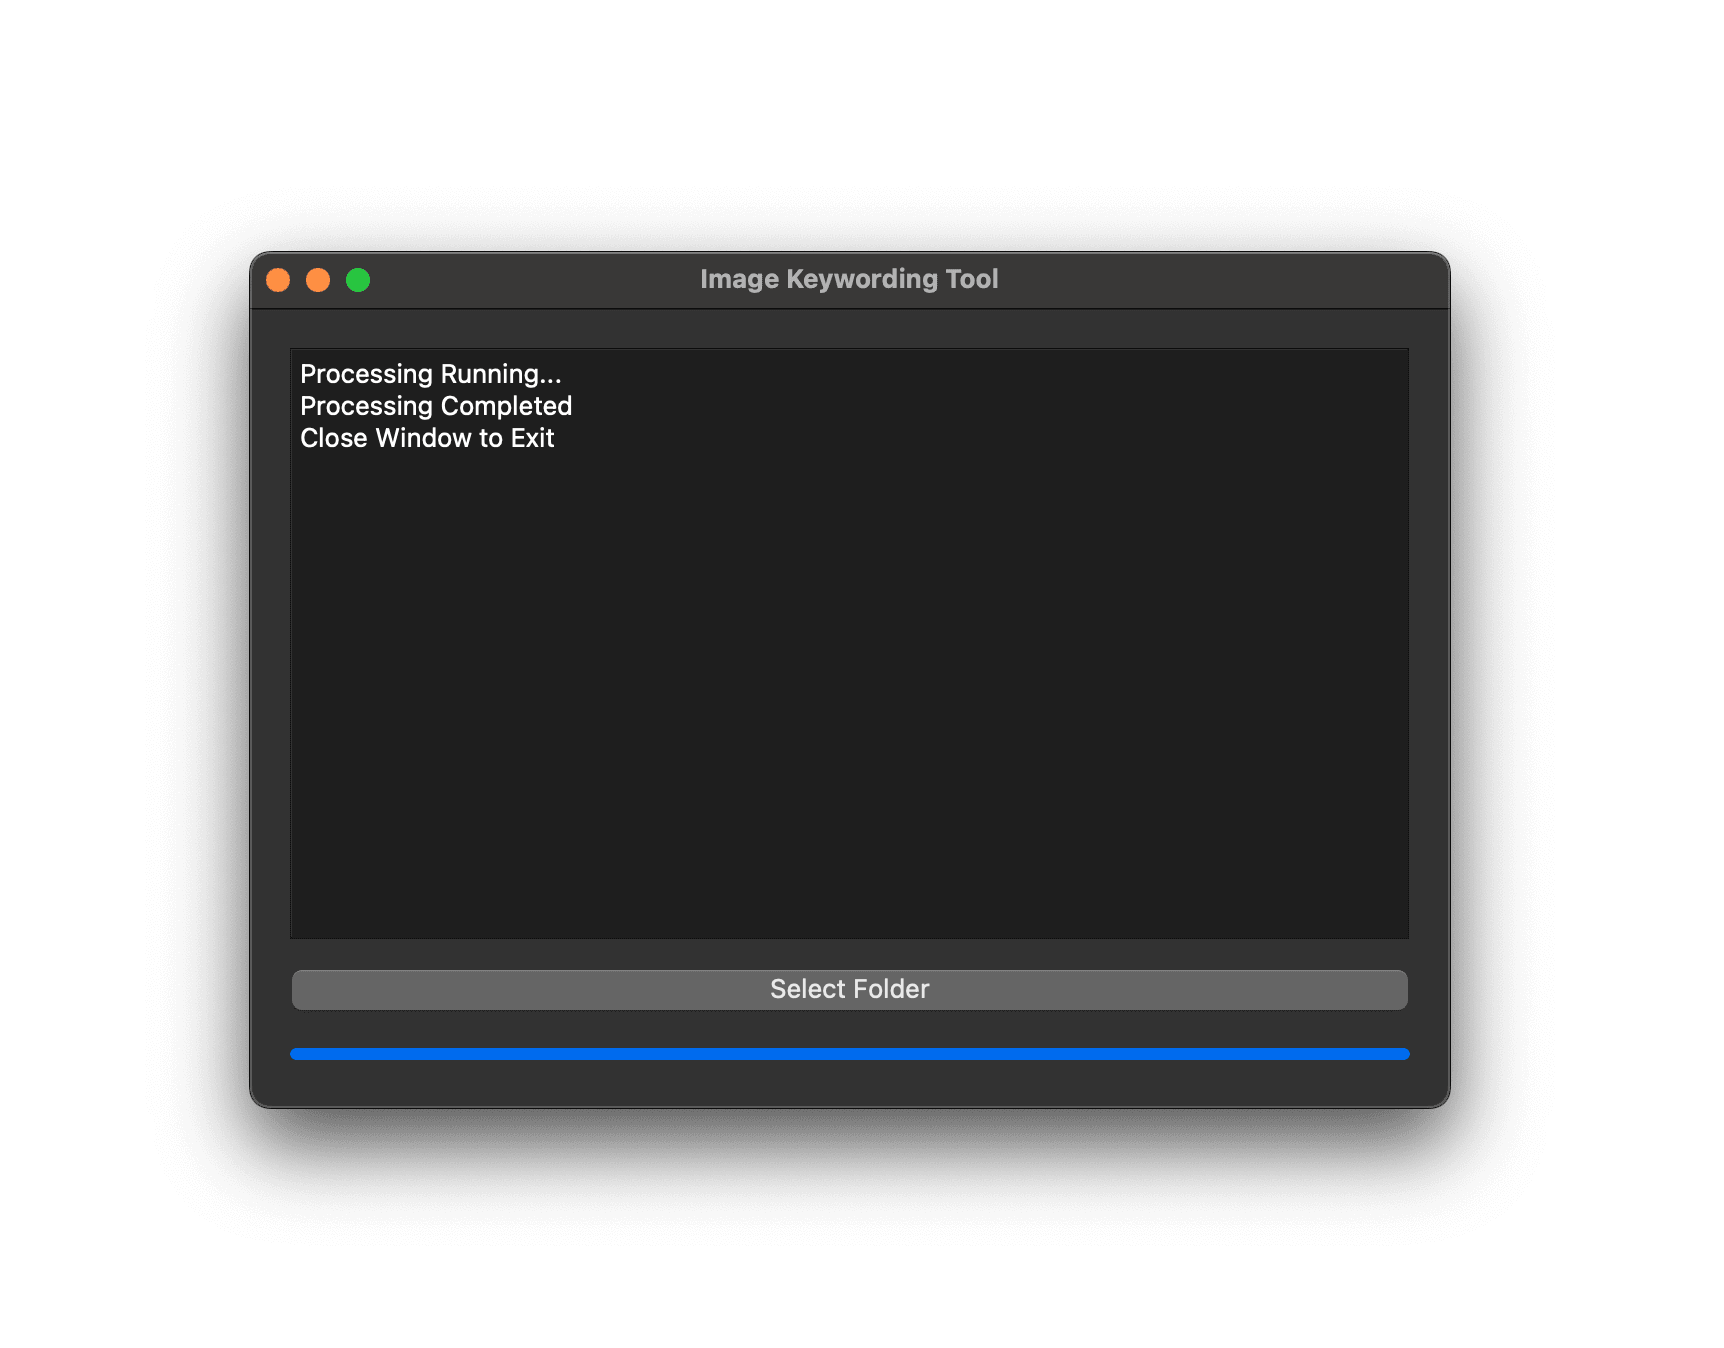
- The graphical user interface (GUI) of the Image Keywording Tool will launch, indicating that the script is ready to run.
- Click on the 'Select Folder' button in the tool's GUI.
- Navigate to and select the folder containing your AI-generated photos.
- The tool will begin processing each photo, fetching metadata from PhotoTag.ai based on the file names, and applying this metadata to the photos.
- The script parses each file name of your AI-generated photos to extract additional context, which it then sends to PhotoTag.ai to generate relevant metadata (titles, descriptions, keywords).
- Successfully processed photos will be moved to a
readysubfolder, while any that fail (due to errors or inability to fetch metadata) will be moved to afailedsubfolder.
- This tutorial and script are specifically designed for AI-generated photos, leveraging the unique aspects of their file names to add contextual metadata.
- Ensure your API token is kept secure and is correctly inserted into the script before running it.
- The PyQt5 GUI makes it easy to process multiple photos at once, providing a progress bar and status updates throughout the process.
By following this tutorial, you can add a new layer of depth to your AI-generated photos, making them more searchable, relatable, and valuable. Whether you're a photographer, digital artist, or hobbyist, this approach offers a straightforward way to enhance your digital creations with contextual metadata, all from the comfort of your desktop.
Remember, the key to a successful integration lies in the preparation of your assets, the secure handling of your API token, and the careful organization of your photos for processing. Happy tagging!